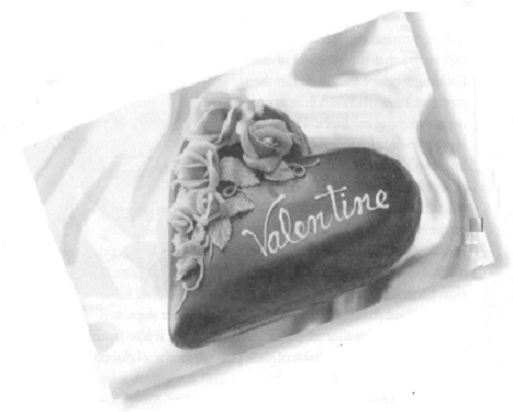
The centuries-old celebration of Valentine’s Day is a welcome holiday around our house in the midst of winter. For adults, Valentine’s is all about romance and roses and chocolate, but for children it’s a holiday when they can sweetly proclaim the love they have for the special people in their lives.
From the time our children were little, we have enjoyed decorating homemade cards to send to relatives and friends living far away. Starting in late January, I haul out the storage box with glue, doilies, construction paper and other goodies we’ve collected for our valentine creations. Martha Stewart I’m not, but somehow Cupid brings out the arts and crafts mode in me.
Through the years, our family has turned February 14th into a special event as we experimented with all sorts of valentine delights, from heart tarts to stenciled cookies and cupcakes, and even decorative touches for the home. One year we got heavily into red Jell-O; not only the heart-shaped jiggly pieces that you can eat with your fingers, but we went so far as to smear it on the cards (this is an actual recipe from some women’s magazine), supposedly to create a shiny, wet finish. Needless to say, some of our projects were more successful than others, but all of them were tons of fun.
If you want to make the most of Valentine’s Day with your children this year, hand-made cards are a good place to start. Red, pink and white construction paper are the basis for many of our cards, or you can also use white computer paper decorated with cut-out hearts from origami sheets. Messages or poems can be hand-written or composed on the computer, then cut and pasted. Sometimes we create messages with letters cut from magazines. We collect the lacey paper doilies for an old-fashioned valentine look, and the younger children like to dress their cards up with stickers, the more the better!
Some of our most creative cards involve paint, yet are not terribly messy. For Thumbprint Valentines, purchase a small container of white acrylic paint, spread a thin layer on a paper plate, and have the kids dip their thumbs in the paint and make prints on red construction paper cards. Our children have made bunny valentines, caterpillars and all manner of funny creatures using thumbprints. You’ll need a thin black marker to draw in the details.
Carrot Stamp Valentines can also be made using acrylic paint. Take a large carrot, cut off the thick end, etch a heart with a pencil, and then use a paring knife to cut off the surrounding carrot. Spread bright red paint on the paper plates and let your children press their carrot stamps into the paint and onto their cards. You can use markers to create heart-shaped love bugs or people, or simply fill your page with colorful hearts. My children always want to add glitter to everything, a messy but glitzy addition to their valentines.
Along the lines of stamp valentines are cards with stencil designs. All you need is a heart-shape cutout (easy to make by folding a paper plate in half and cutting half a heart), some acrylic paint and an old toothbrush or sponge to fill in the stencils with interesting textures.
Parents of very young children may want to play it safe and stencil with crayons or markers instead. Hot pink hearts on white paper are always a big hit. Our children’s grandparents are delighted with our Pop-up Photo cards where we glue a child’s picture on a narrow piece of paper folded like an accordion. When the valentine card is opened, out pops the photo.
Once you’ve mastered the valentine’s cards, you may want to make at least one festive treat for the holiday. The above-mentioned red Jell-0 is an easy dessert if you happen to have a heart-shaped cookie cutter. And if you do, why stop at Jell-O? You can make a feast of heart-shaped pizza— and cookies, too.
Here’s one of our favorite valentine’s desserts: stenciled cupcakes made with a standard mix, topped with pink icing and decorated with a red sugar crystal heart on top. You can make the same heart stencils from cardboard as you did for the Valentine’s cards (just don’t use the paint on the cupcakes). Hold the small stencil design flat on the cupcake as you sprinkle with the sugar.


